Creating SmartForms Users
Overview
This guide helps ERP Administrators manage SmartForms users at Daniel's Jewelers by:
- Setting up new users
- Managing security groups
- Configuring access rights
- Handling user deactivation and deletion
The proper configuration of user access supports data flow visibility across departments and enables real-time insights for executive staff.
Accessing Security Manager
1. Login to SmartForms
Enter your login credentials at the SmartForms login screen.

2. Navigate to Security Manager
- From the Business Process home page:
- Click "Tools" and select "Security Manager"
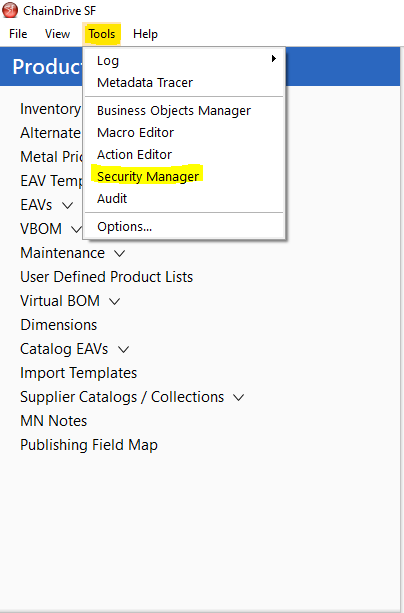
- You'll see the Security Manager home page:
Creating New Users
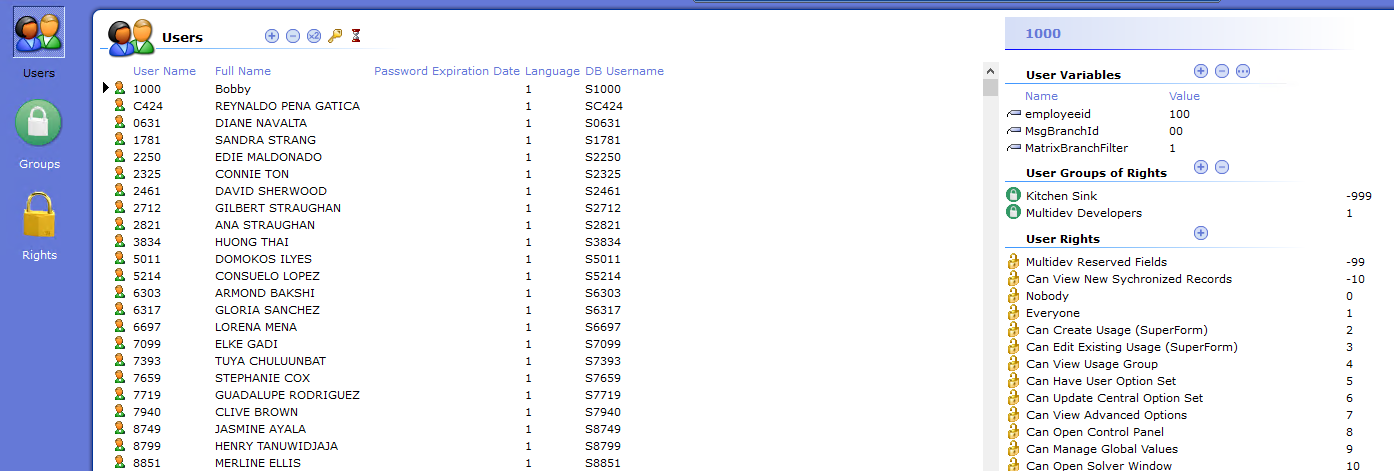
Method 1: Duplicating Existing Users
Use this method for employees who need the same security groups and user rights as an existing user.
- Select an existing user and click the "X2" button:
![]()
- Update the employee ID:
- Remove the old employee ID
- Enter the new user's employee ID number

Setting Up User Details
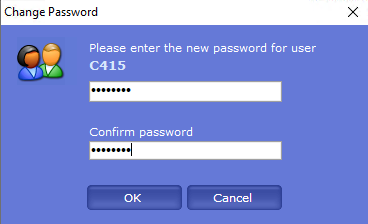
1. Username Creation
Enter the employee ID as the username (e.g., "C415")

2. Password Setup
Create and confirm the password
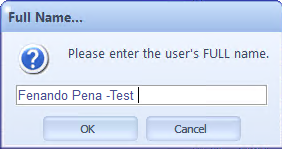
3. Full Name
Enter the employee's first and last name
4. Password Expiration
Choose one of two options:
- Set a 90-day expiration (recommended):
- Leave blank for no expiration
5. DB Username Configuration
- Click the DB username column
- Add "S" prefix to the username (Example: SC415)
![]()

Managing User Rights
Adding Rights
To grant additional security groups and workflow access:
- Click the "plus" icon
- Select desired security groups
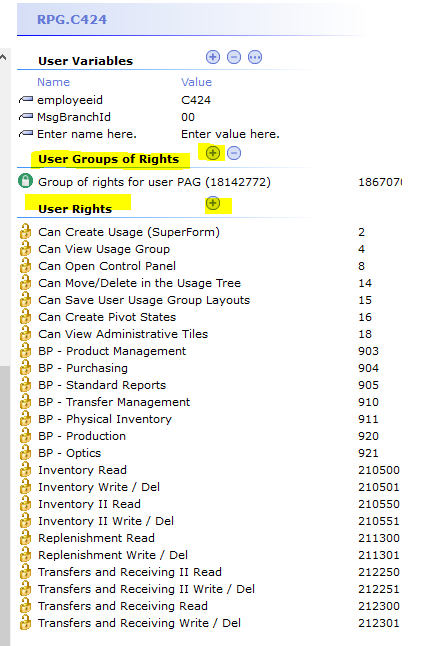
Removing Rights
- Select the rights group to remove
- Click the "-" icon
- Confirm removal

![]()
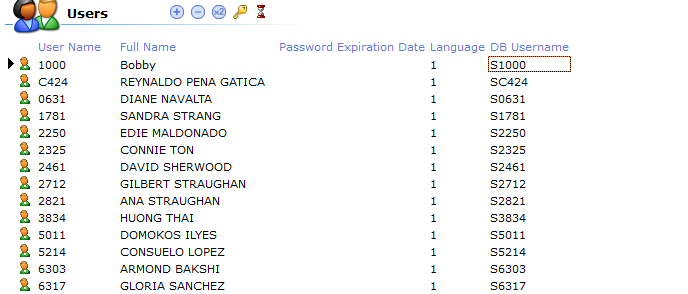
User Management
Deleting Users
- Highlight the username
- Click the "-" icon
- Confirm deletion
- Save changes using the top-right checkmark

To reassign the license to another user, contact MD customer support team.
Deactivating Users
To temporarily disable access:
- Add an expiration date to the user
- Save changes
![]()
License reassignment requires MD customer support assistance.