POS Installation Guide
![]()
Prerequisites
Daniel's Special Requirements
- Connection sheet must be provided to Multidev in advance containing:
- Computer name
- Cash ID per station
- CASHID (license) requirements:
- Created in SV1020 database
- Deployed by Chain-drive technician
- Updated via POS PR
- Each CASHID must be linked to a unique SHORTKEY
Station Setup Checklist
- Verify printer drivers
- Configure pole display
- Review system requirements
System Configuration
Before Multidev IT begins:
- Disable Smart Screen Filter
- Configure Windows Firewall:
- Control Panel → Windows Firewall → Allowed Programs
- Allow FTP Access
- Make C:\Multidev a trusted folder with full Read/Write privileges
Installation Process
Initial Setup
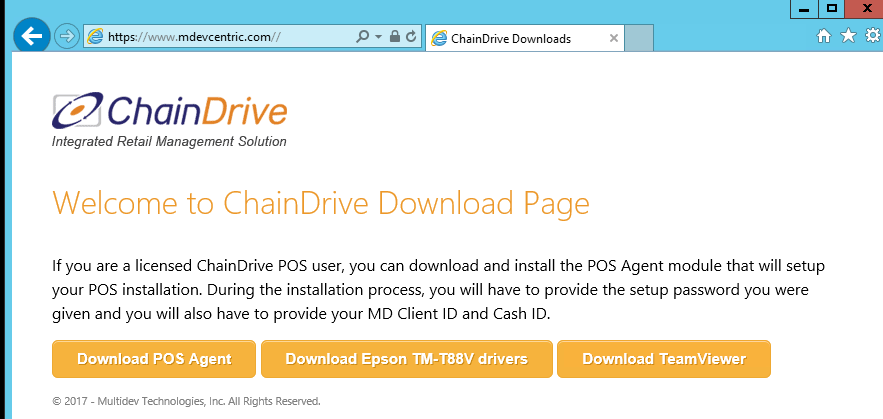
- Visit "mdevcentric.com"
- Download the POS installer
Installation Steps
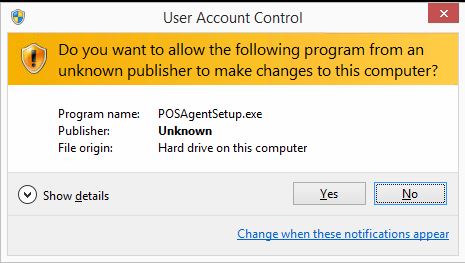
- Run POSAgentSetup.exe as Administrator
- Accept any warning messages that appear:
- Follow the installation wizard:
- Click Next
- Enter application password (provided by Chain-drive Technician)
- Complete installation
Licensing Configuration
important
After installation, you'll need to configure licensing:
- Enter provided credentials:
- Client Id: XXXX
- Cash Id: XXXX (check CASHID table in SV1020)
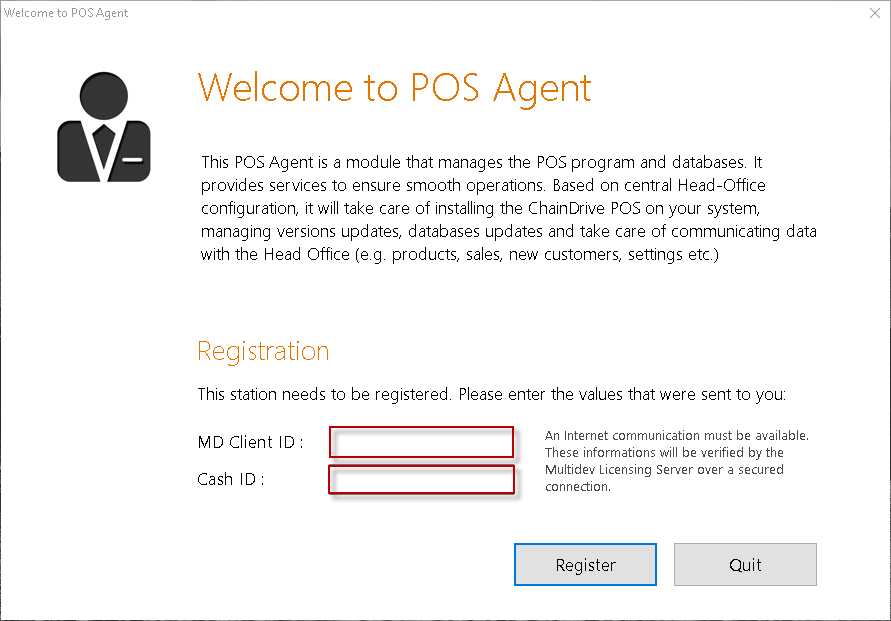
- Verify successful registration:
Post-Installation Setup
Accessing the Agent
- Locate the white icon in the notification area
- Double-click to open application

Firebird Service
- If prompted, install fbsetup64
- Click "Yes" to complete installation
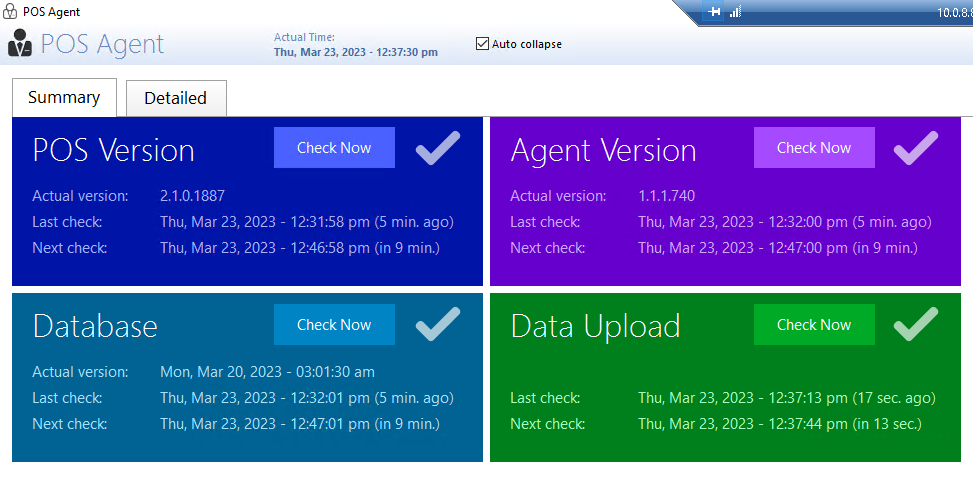
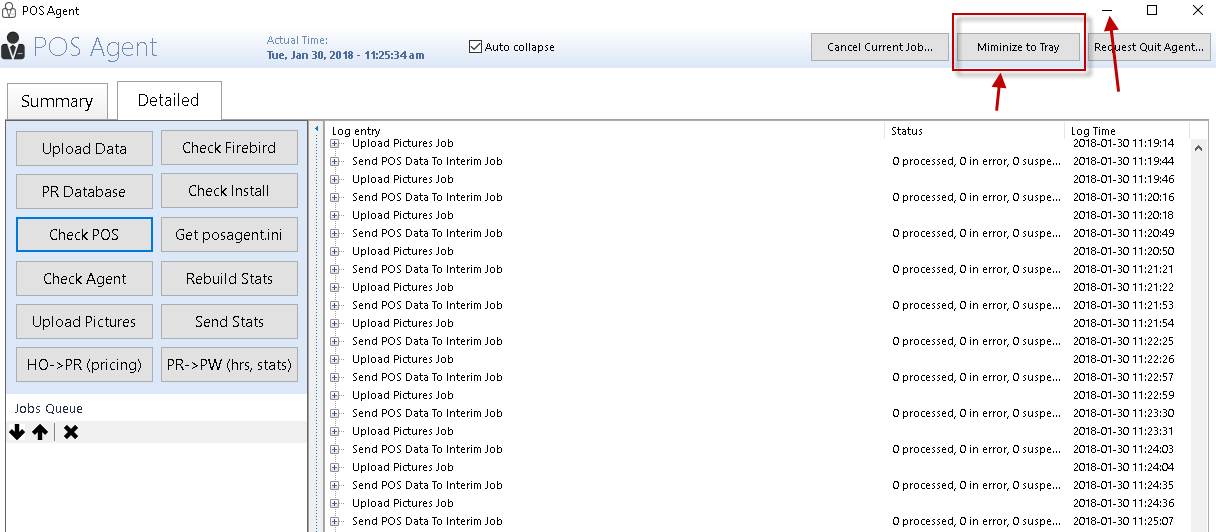
System Verification
- Click "Check now" in POS Agent
- Wait for all checks to complete
Final Configuration
- Minimize application:
- Use "Minimize to tray" button or minus sign
- Verify installation directory:
- Check
C:\Multidev\pos\bin
- Check
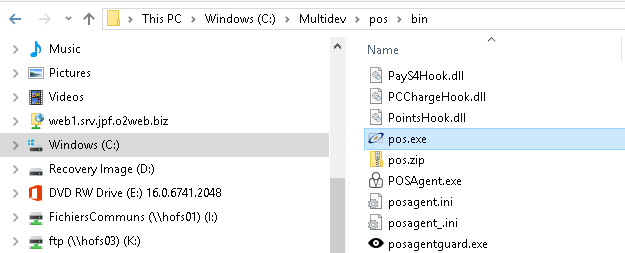
Desktop Shortcut
- Create shortcut to:
C:\multidev\pos\bin\pos.exe
Troubleshooting
tip
If you encounter issues:
- Verify all prerequisites are met
- Check system permissions
- Confirm proper CASHID configuration
- Review firewall settings