Introduction
This document will allow you to create and configure suppliers in the ChainDrive Accounting module and in SmartForms. The document will show you what information is visible on which module. This document shows you the requirements associated for the remittance as well as the PO processes.
Log in
Locate the MDAccounting executable either on your desktop or in a folder. Double click on the icon and then login with your credentials. Note that having SmartForms credentials will not necessarily grant you access to the Accounting module as these are different solutions.
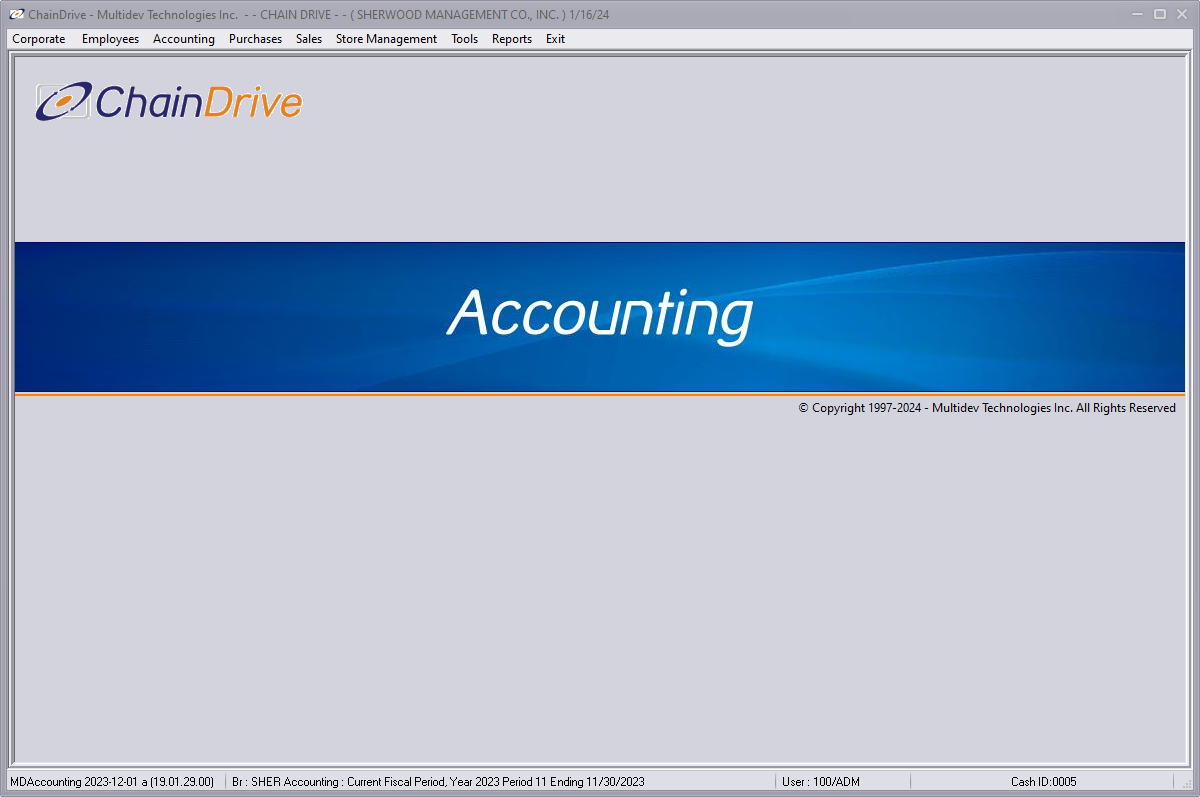
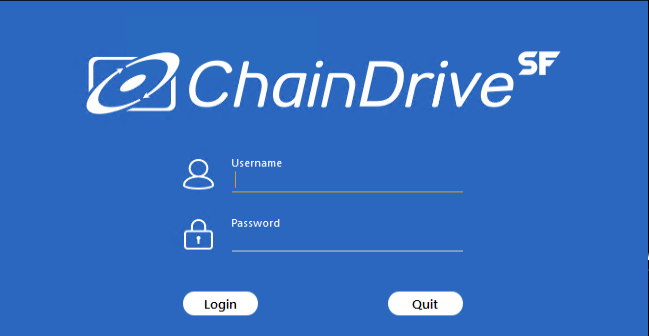
 Once you are logged in, this window will open:
Creating a supplier
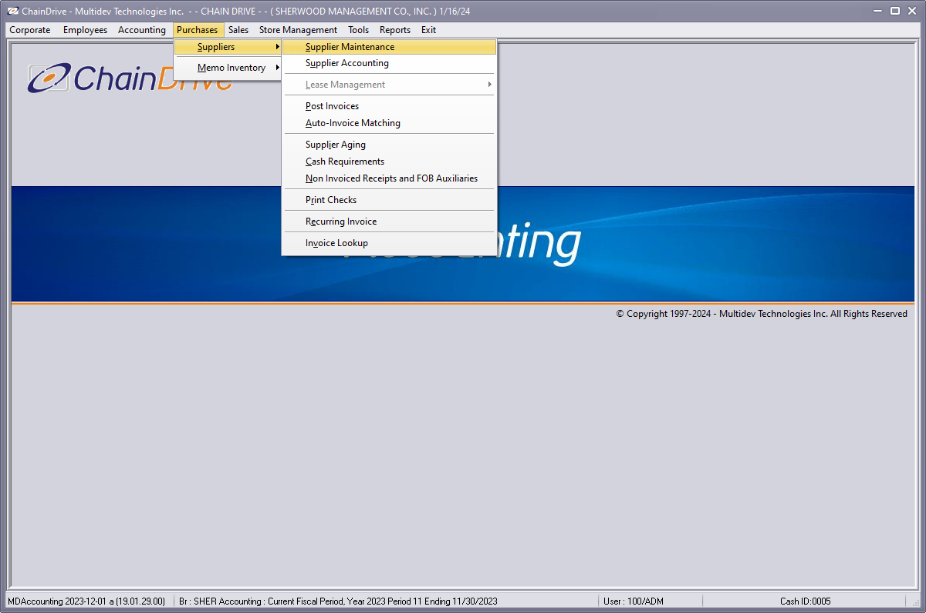
To create a supplier, on the top bar, navigate to Purchases -> Suppliers -> Supplier Maintenance Note that, important to understand, creating a supplier within the accounting allows you to define the fields values needed to support the remittance and PO processes only.
This window will open:
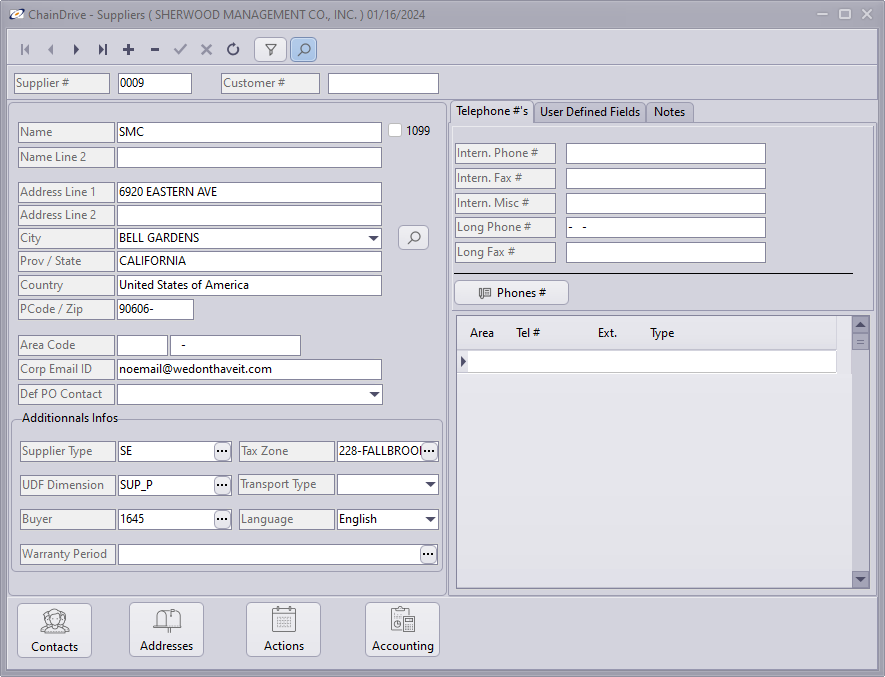 By default, the window will open based on an ascending order by supplier #.
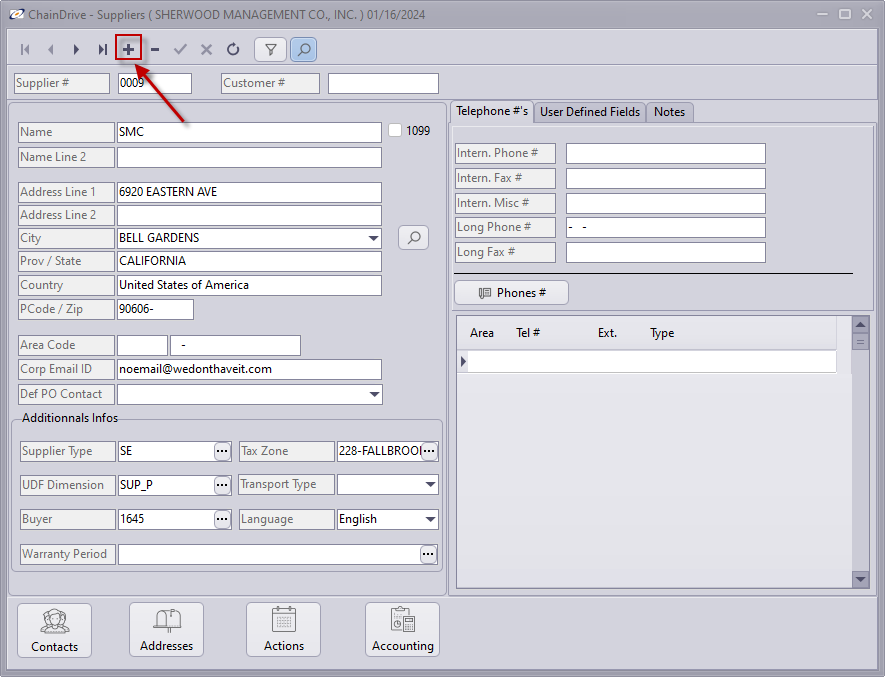
To start the creation of a new supplier, click on the ‘+’ sign on the top section of the window.
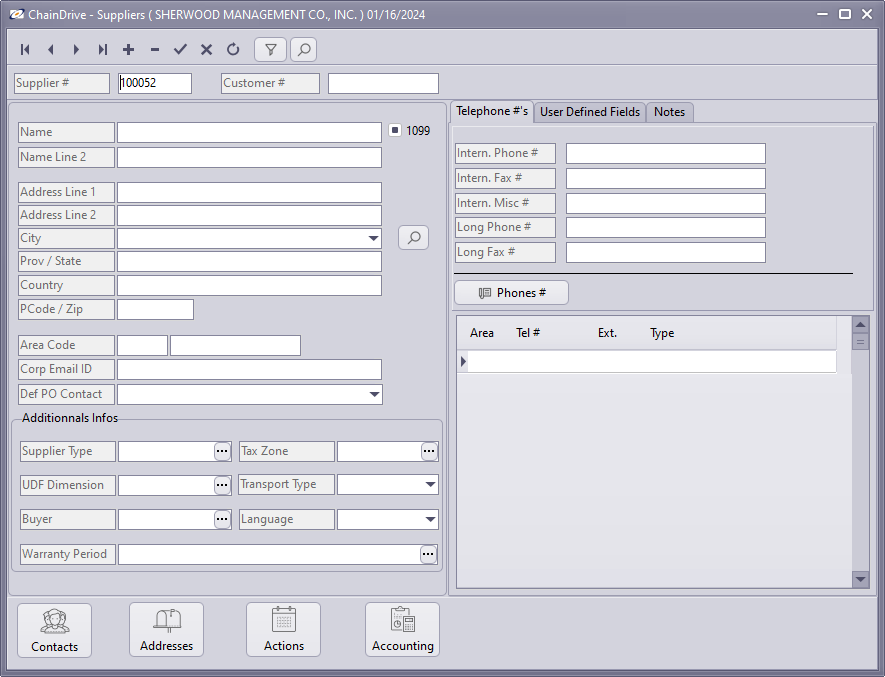
 All the data from the screen will be removed, meaning that you are now in edit mode. You will only see a value in the Supplier # as this is a system generated record associated with the supplier you are about to create.
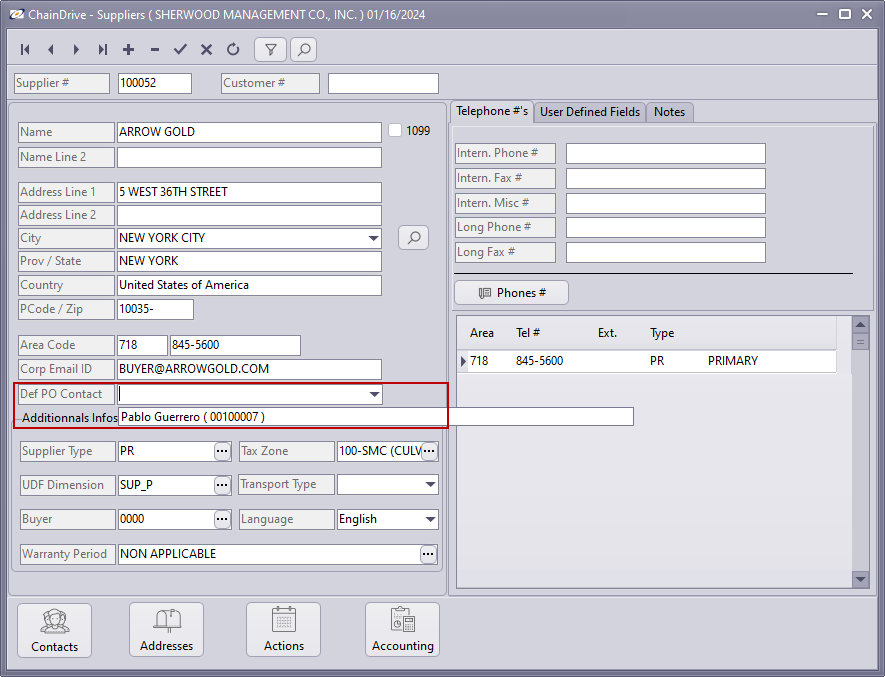
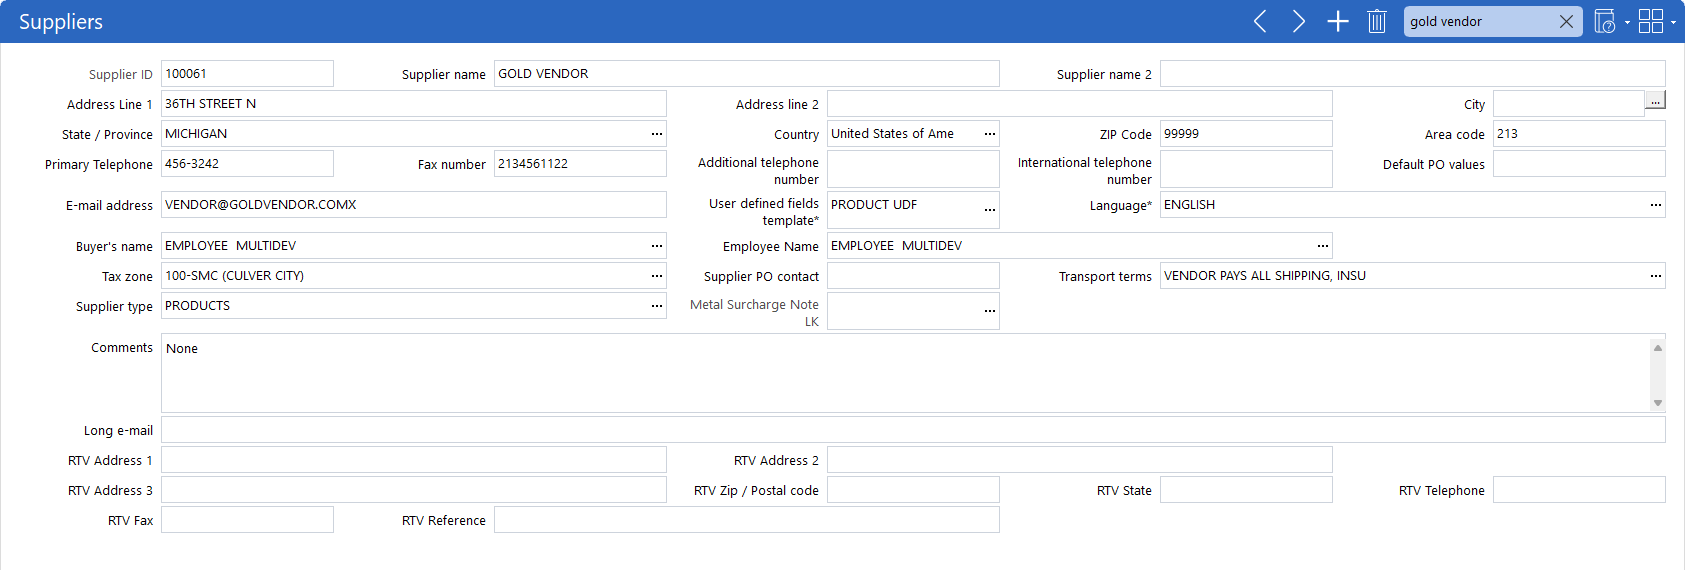
Highlighted in red are the minimum required fields to be completed in order to save a supplier in the accounting module and will allow you to do the remittance process only. Important to note, for the PO process, there are other fields mandating entries.
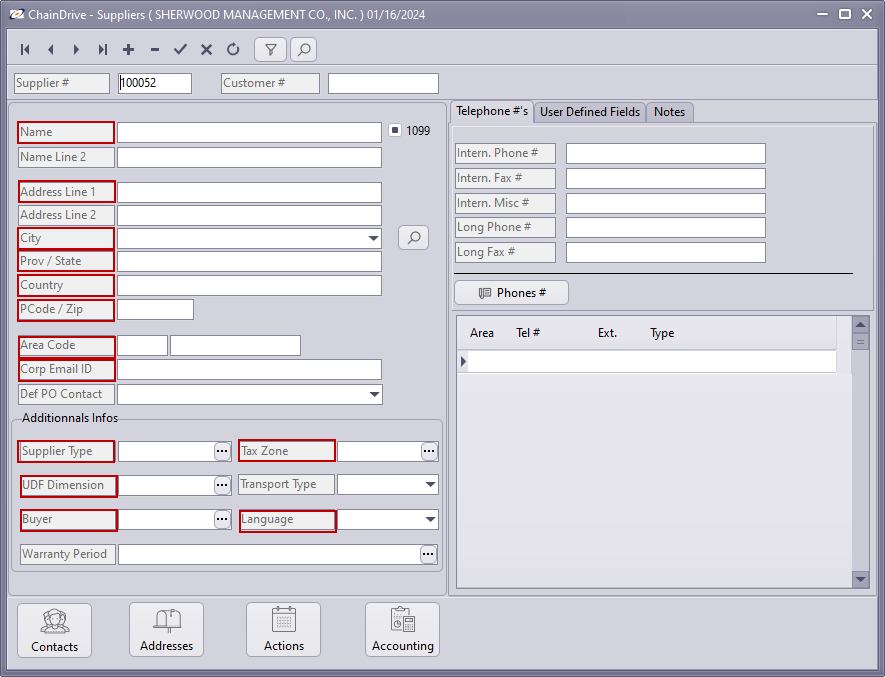
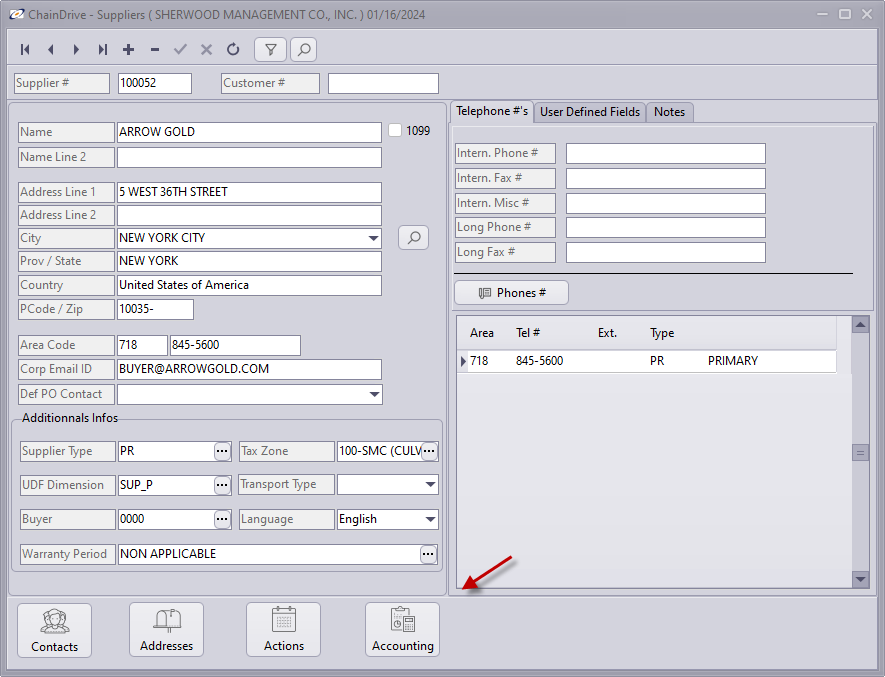
Once completed with the minimum requirements, the supplier file will look like this:
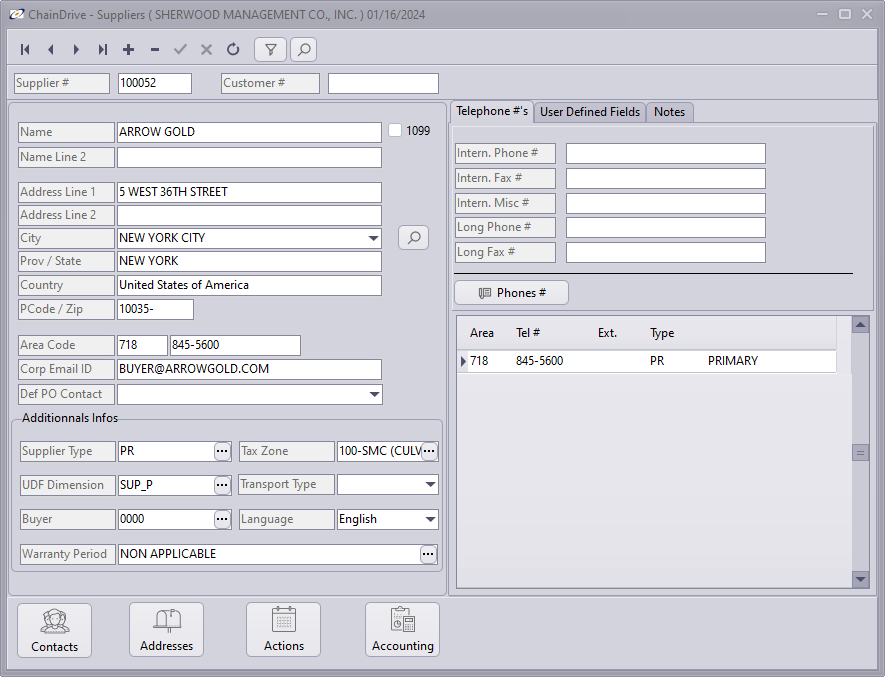 If you want to create a supplier that will be used for the PO process, the Def PO Contact and Transport Type are needed. To assign a contact, we need to create one and link it to the supplier. This is explained in the next section.
Add contacts to a supplier
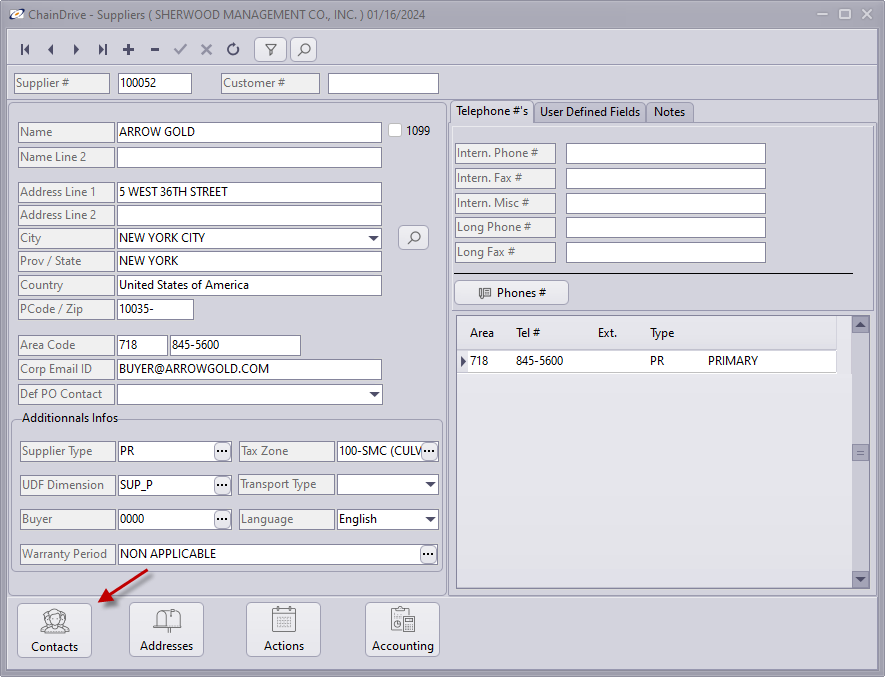
If you have contacts at a certain supplier where you need to, say, send your Purchase Orders to, the accounting module will allow you to create contacts and link them to the supplier. To add contacts to a supplier, click on the Contacts button on the bottom left of the screen.
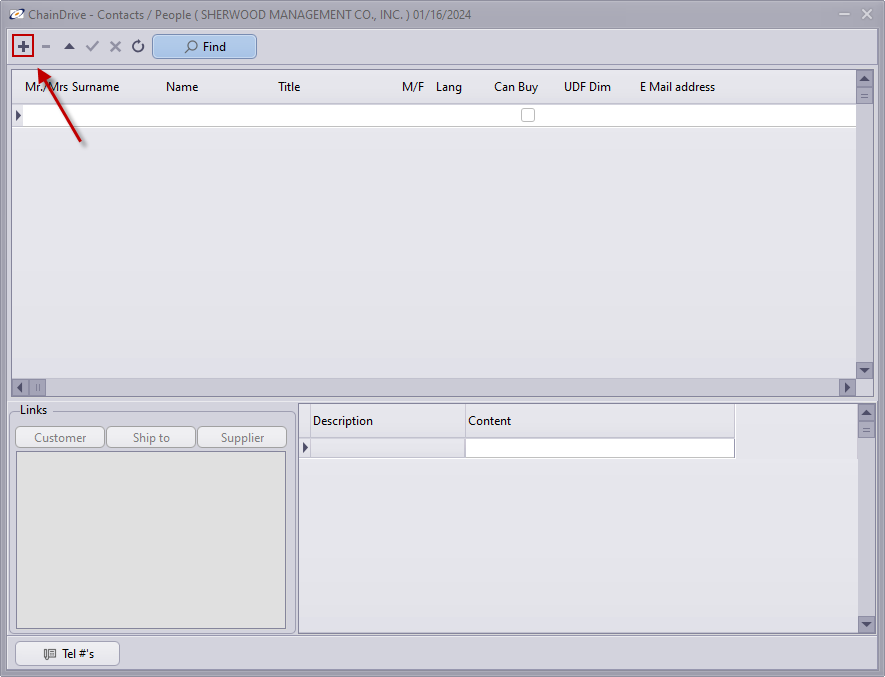
 You will be sent to this window where you will be able to click on the ‘+’ sign to add a record.
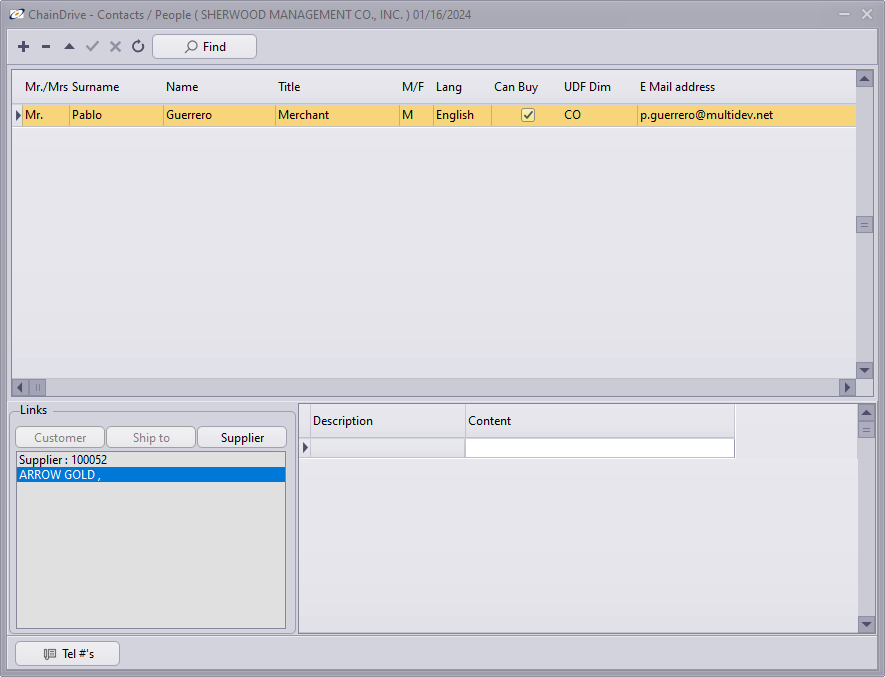
 Once completed, the window will look like this where you are able to confirm the link between the contact and the supplier in the bottom left corner. The number of contacts you can create is unlimited.
 If you close the Contacts screen, you will be brought back to the Suppliers main screen. From there, you will be able to assign the contact you just created as the default contact.
When the address is not the same for PO and Check Remittance
If the address in the supplier file is not the same for sending a PO needed for a check, you can navigate to the accounting option in the bottom of the screen. This section is only available in accounting and if a supplier is created through SmartForms, the following steps are to be completed in the accounting module. SmartForms does not have access to creating a remittance address.
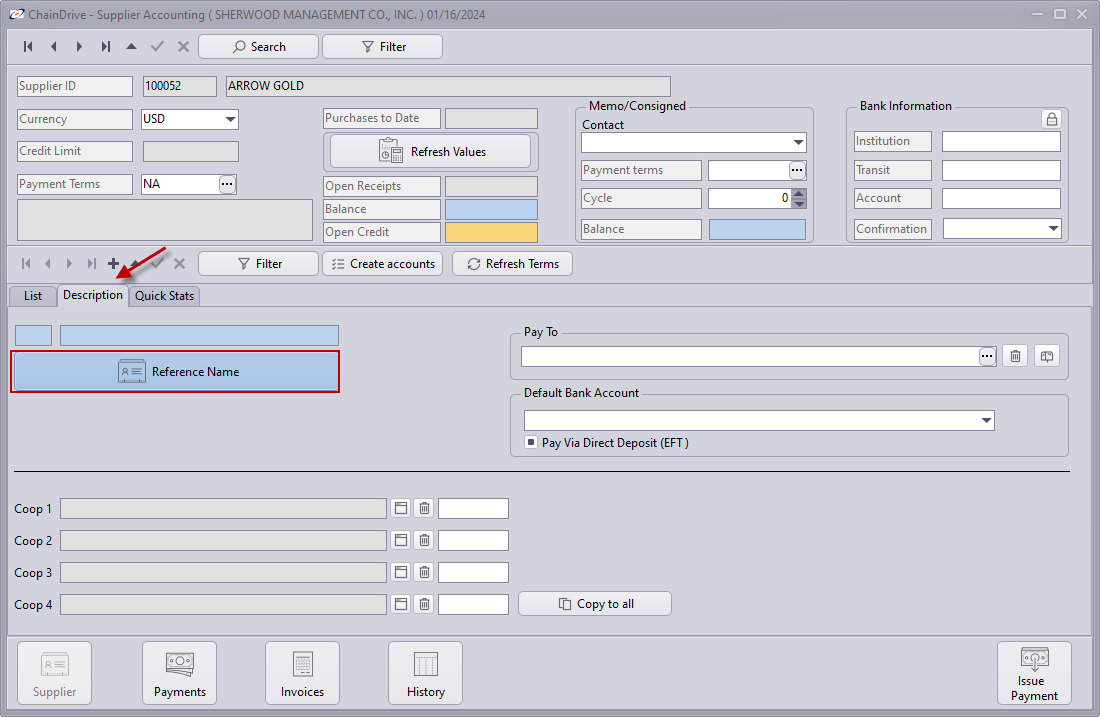
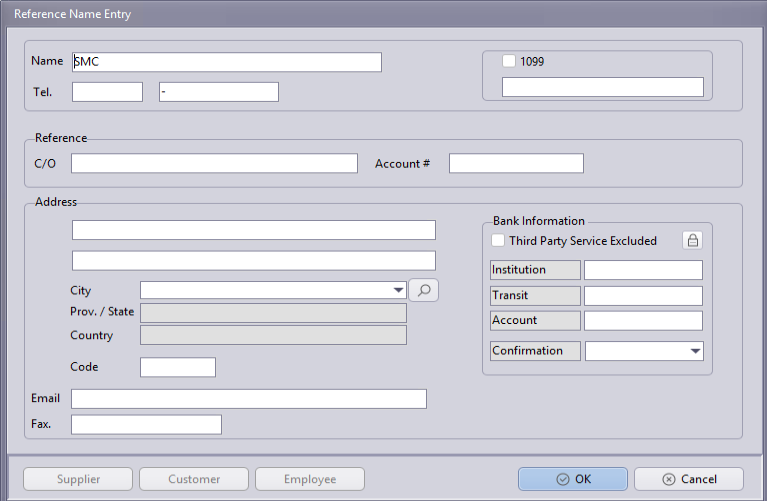
 The supplier accounting window will open. Navigate to the Description tab and click on Reference Name where you will be able to complete the supplier information.
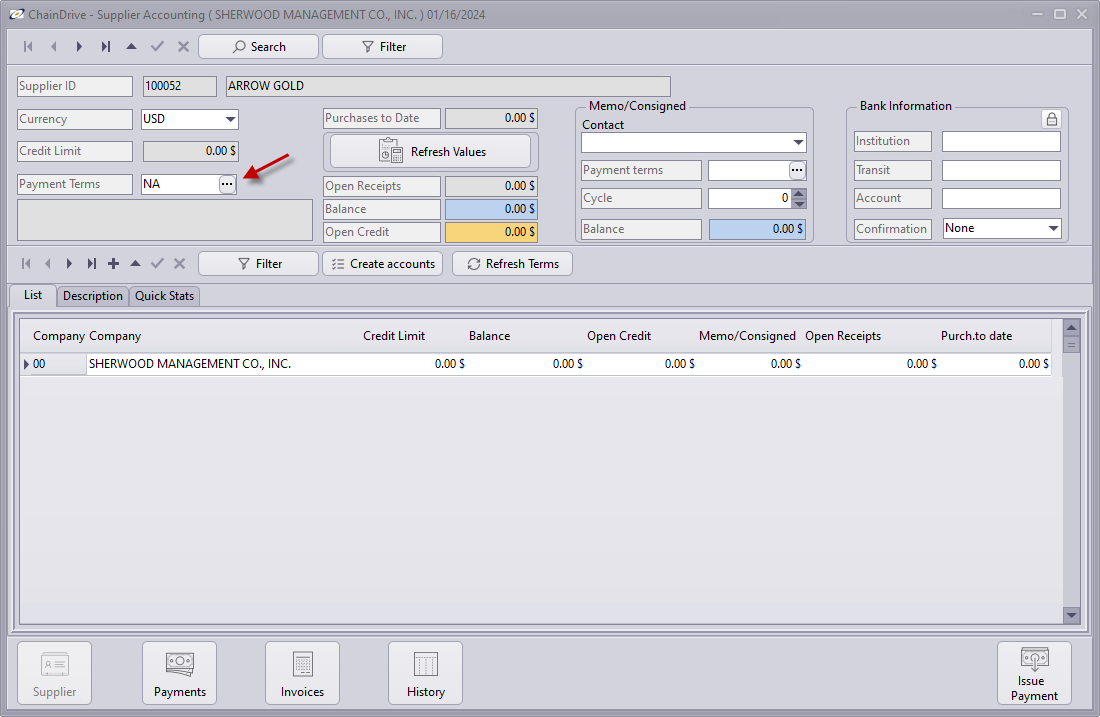
Set the payment terms
To set the payment terms. You will need to navigate to the Accounting option at the bottom of the screen.
The payment terms will be visible for you to edit them in the first screen.
Create a supplier in SmartForms
Start by logging in the ChainDrive SmartForms application
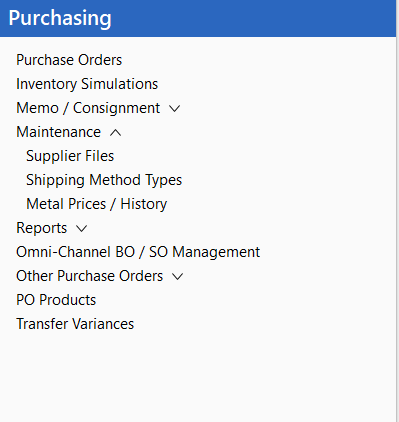
In the case where the supplier needs to be created in SmartForms, you can navigate to the Purchasing Business Process and locate the Supplier Files usage group. Note that the usual place where the usage group is placed is under Purchasing -> Maintenance -> Supplier Files.
The top of the usage group consists of the Suppliers usage where the view will be similar to this. Clicking on the ‘+’ sign will put you in edit mode where you will be able to complete the required fields. Those fields are highlighted in red. Note that if you need a different address for remittance, you will need to complete these steps in accounting as seen previously.
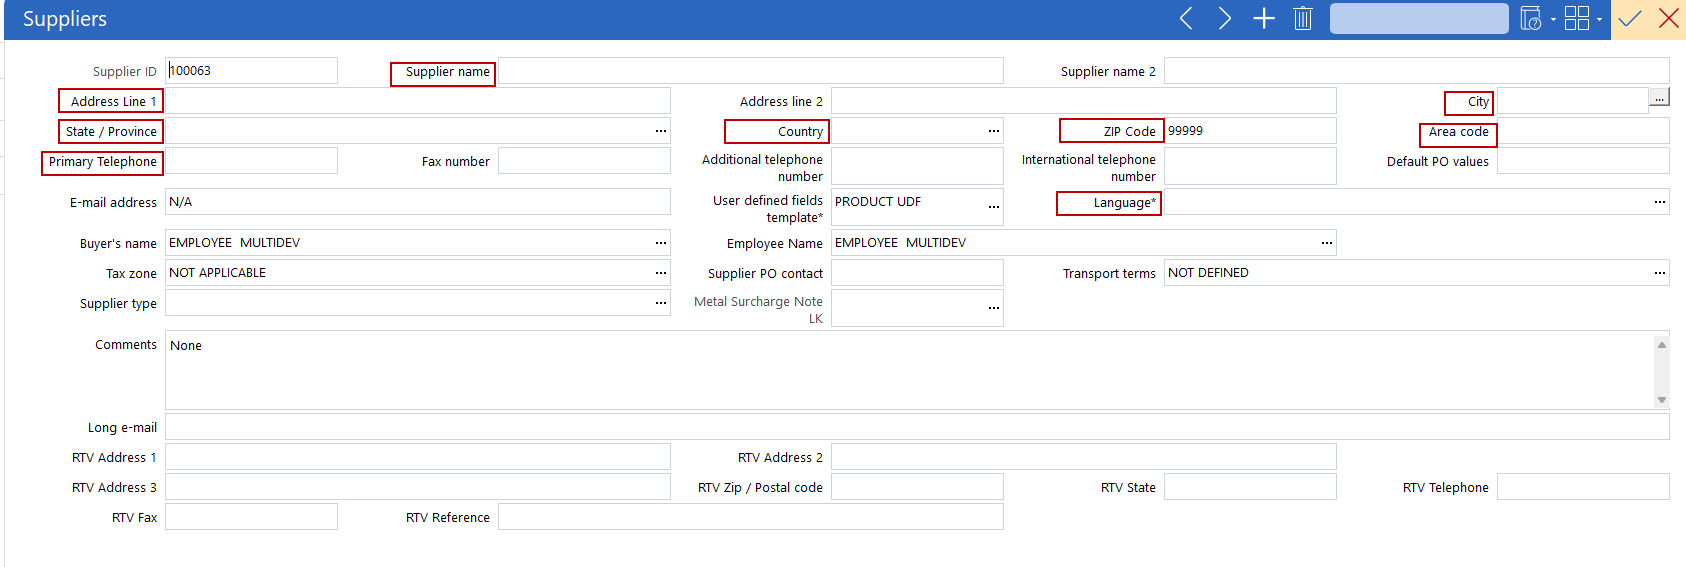 Note that, if you need to return merchandise to a vendor and the address differs from a PO address, you will need to manually complete the RTV fields. Note that as of 1/18/24, these fields are not being picked up for the process.
Once completed, the file will look like such:
Note that, if you need to return merchandise to a vendor and the address differs from a PO address, you will need to manually complete the RTV fields. Note that as of 1/18/24, these fields are not being picked up for the process.
Once completed, the file will look like such:
Assign contacts to the supplier
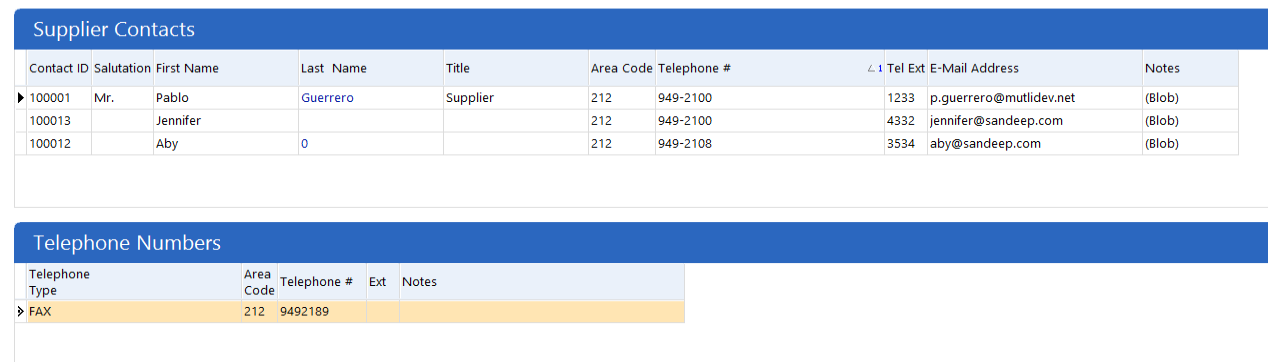
In SmartForms, you are also able to link a contact to a supplier via the Supplier Contacts usage at the bottom of the screen. If you need to assign a Fax number to a contact, this is done on the Telephone Numbers usage below the Supplier Contacts usage.
Purchase Order metal format
Below is the template for the purchase order with metal price. This section of the document will show you where the data is coming from in the database. Any field seen here can be edited on the Purchase Order header to display something else if needed. Those changes will not affect the supplier file, they are the purchase order level only.
Set up the Send by email PO function
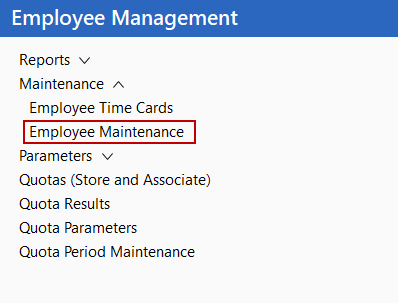
To send a PO by email, you need to make sure that buyers have an email address defined. Navigate to the Employee Management Business Process, then, Maintenance -> Employee Maintenance.
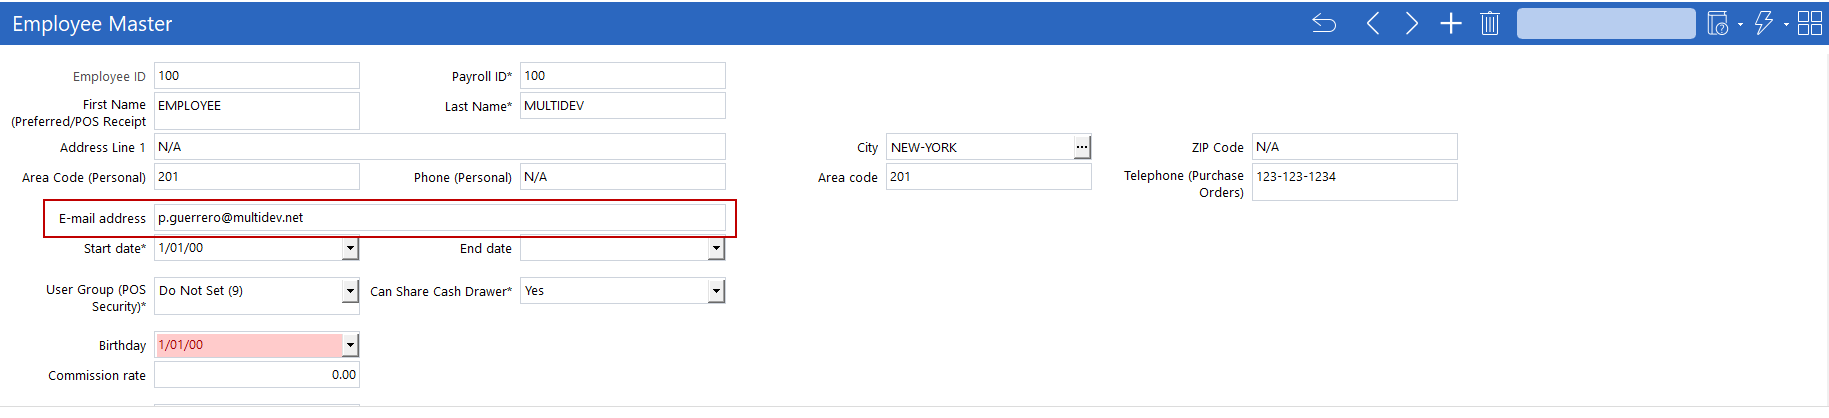
The Email address needs to be defined under each employee that is going to send POs.
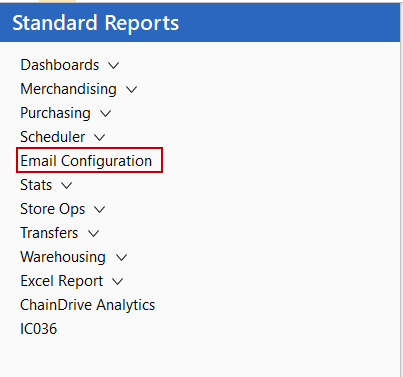
 Next thing to do is to set up the email configuration for the email template and the email configuration. That is located under Standard Reports -> Email Configuration.
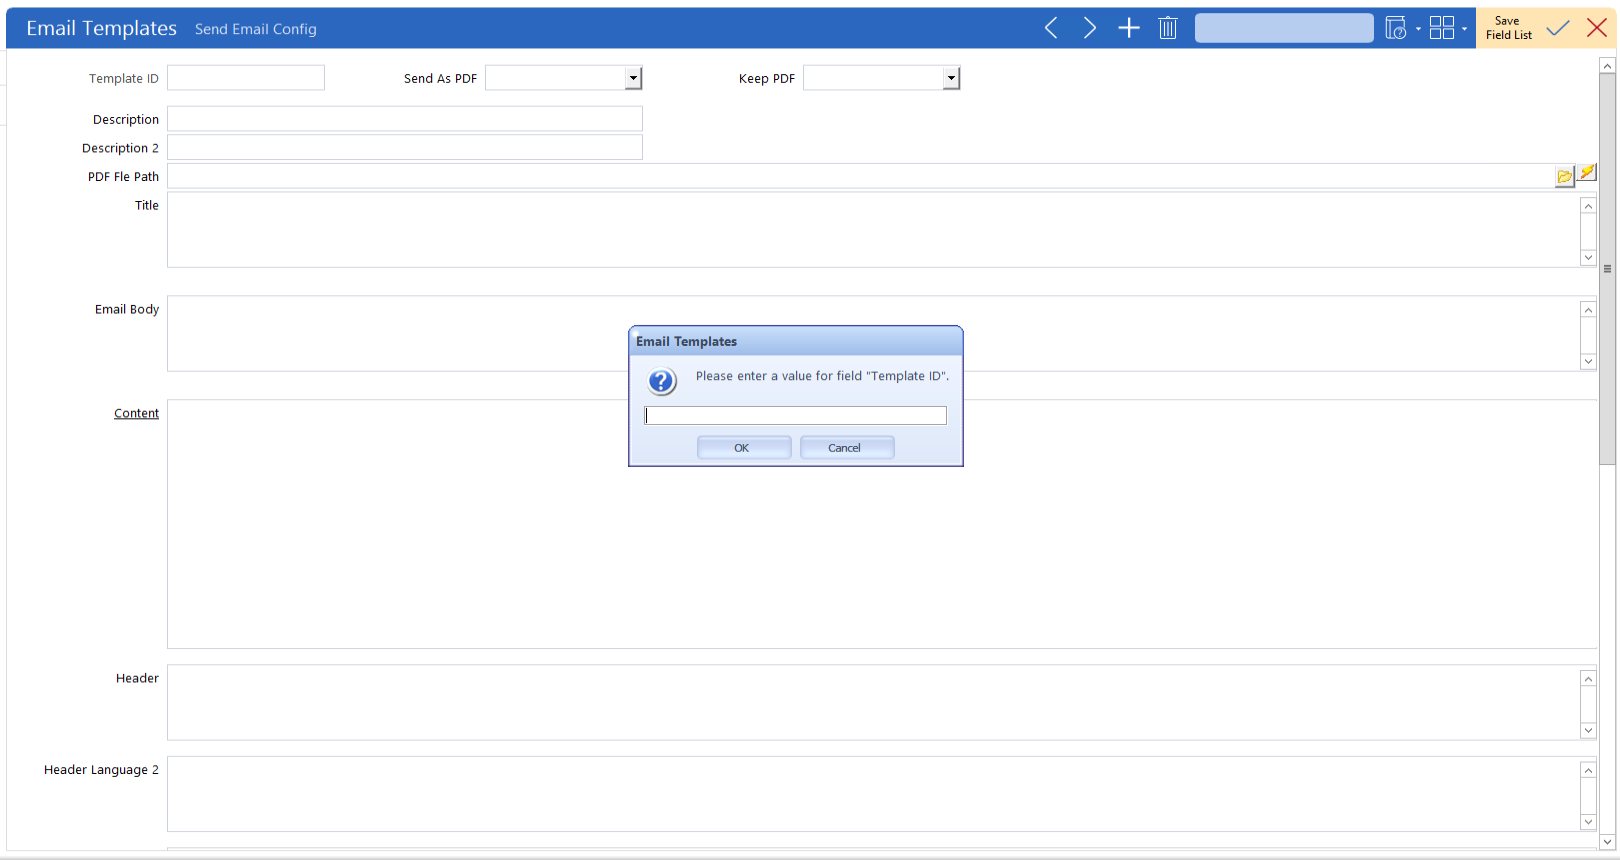
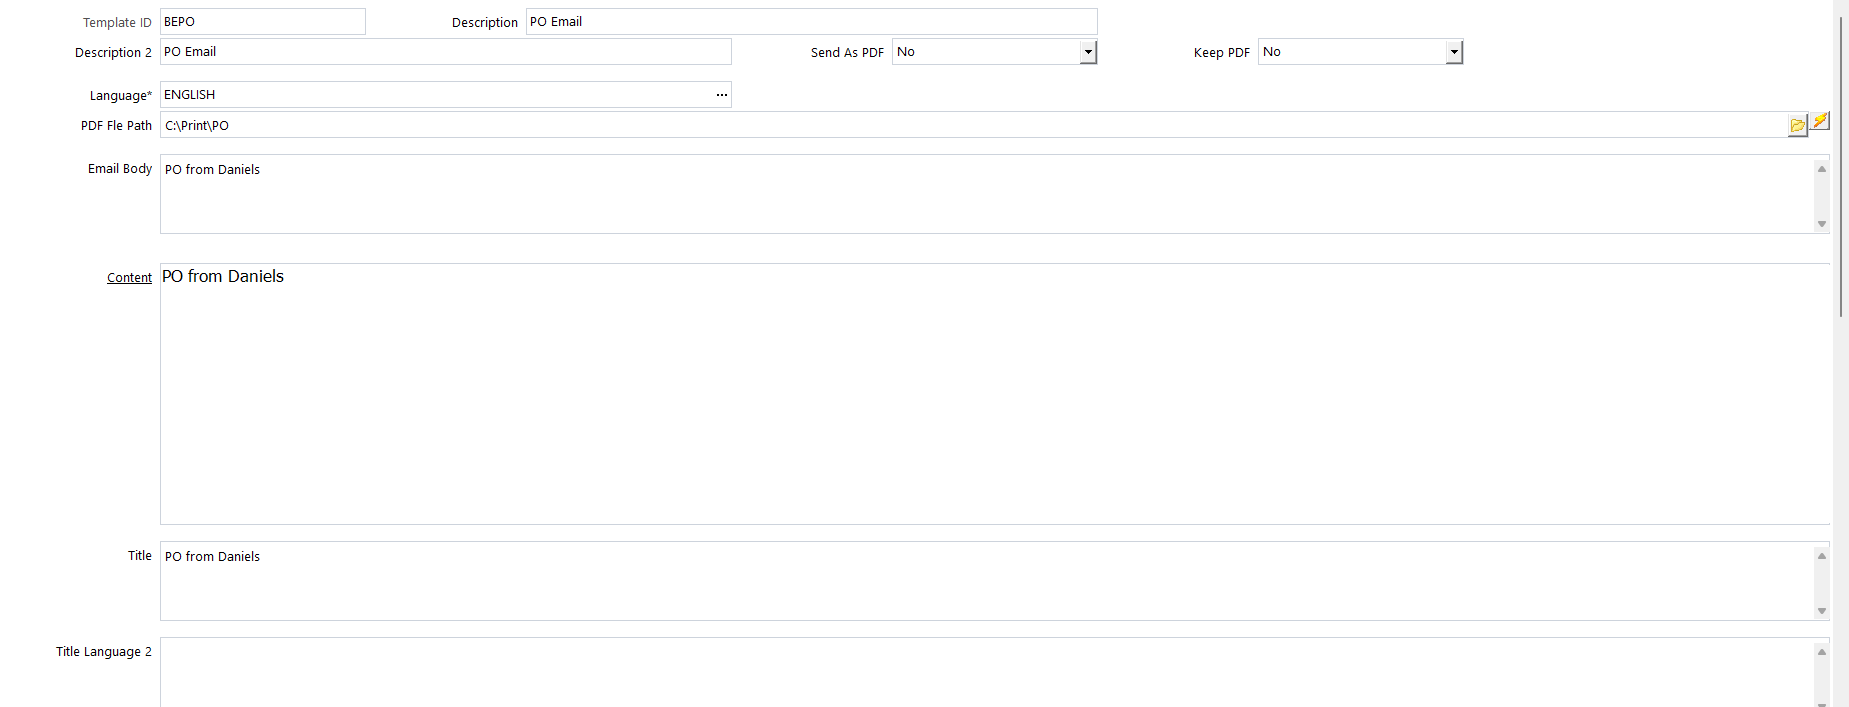
The first thing to do is to complete the Email Templates usage. When you click the ‘+’ sign, you will get a prompt asking for a Template ID. Enter a 4 character identifier, you will need this later. You can refer to the screenshot below to help you complete the template.
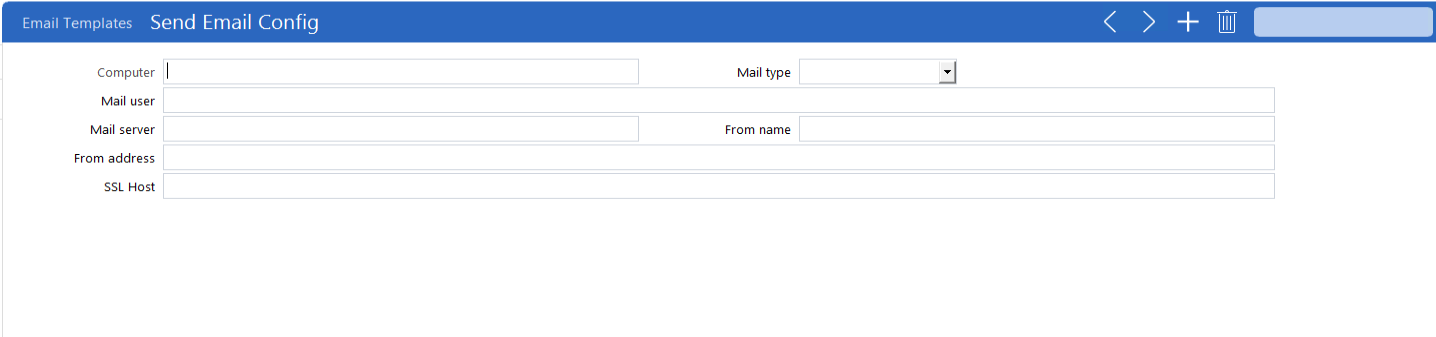
Navigate to the Send Email Config usage and complete the fields based on your organization email configuration. Note that the field Mail user must be entered in the following way: email:password
Lastly, locate the Purchase Order Types usage and assign the template ID you just created in the Template ID field.

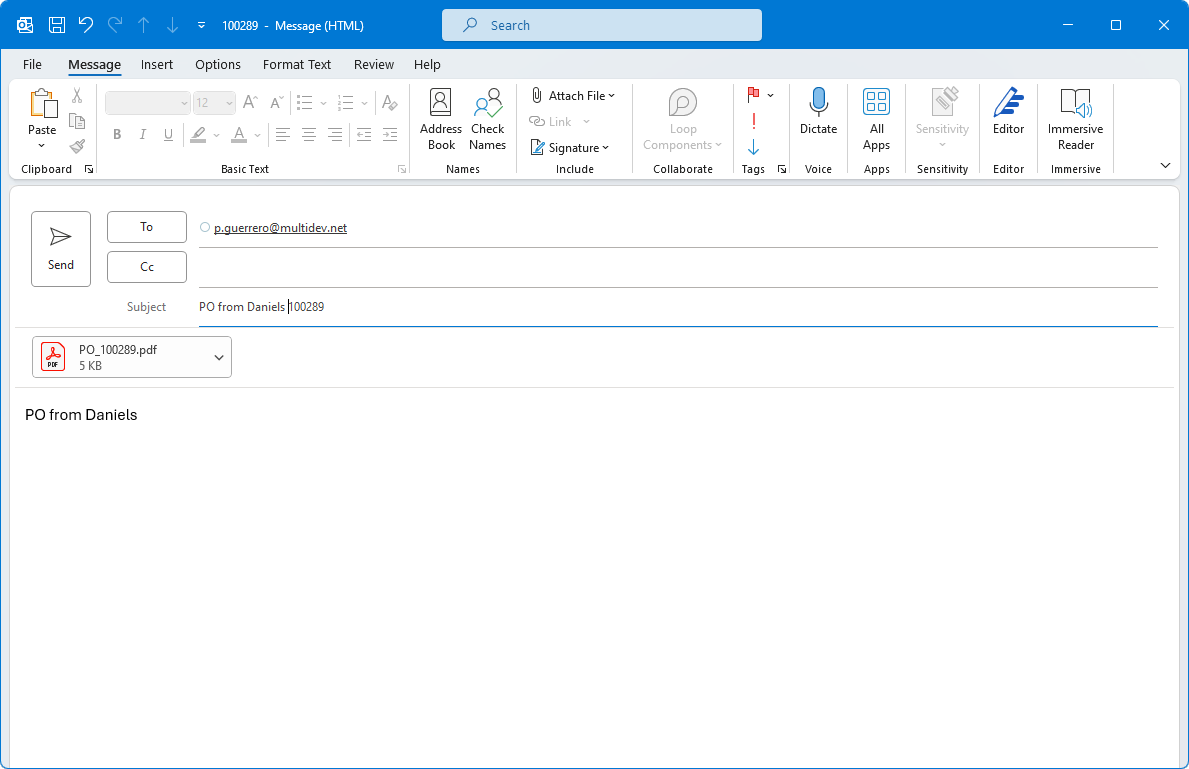
With that configuration, in place, when you will generate the Purchase order, you will be able to email the P by clicking on E-Mail.

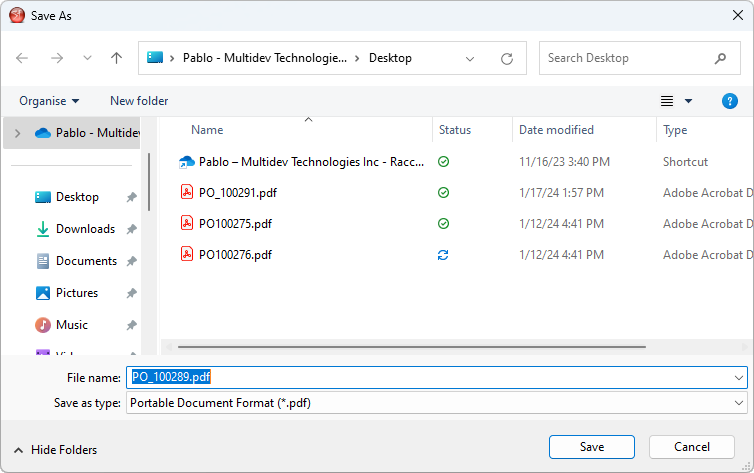
And then attached to an email .